How to Build a Gaming PC in 2025
GuideGame · 21/03/2026 · 20 min read
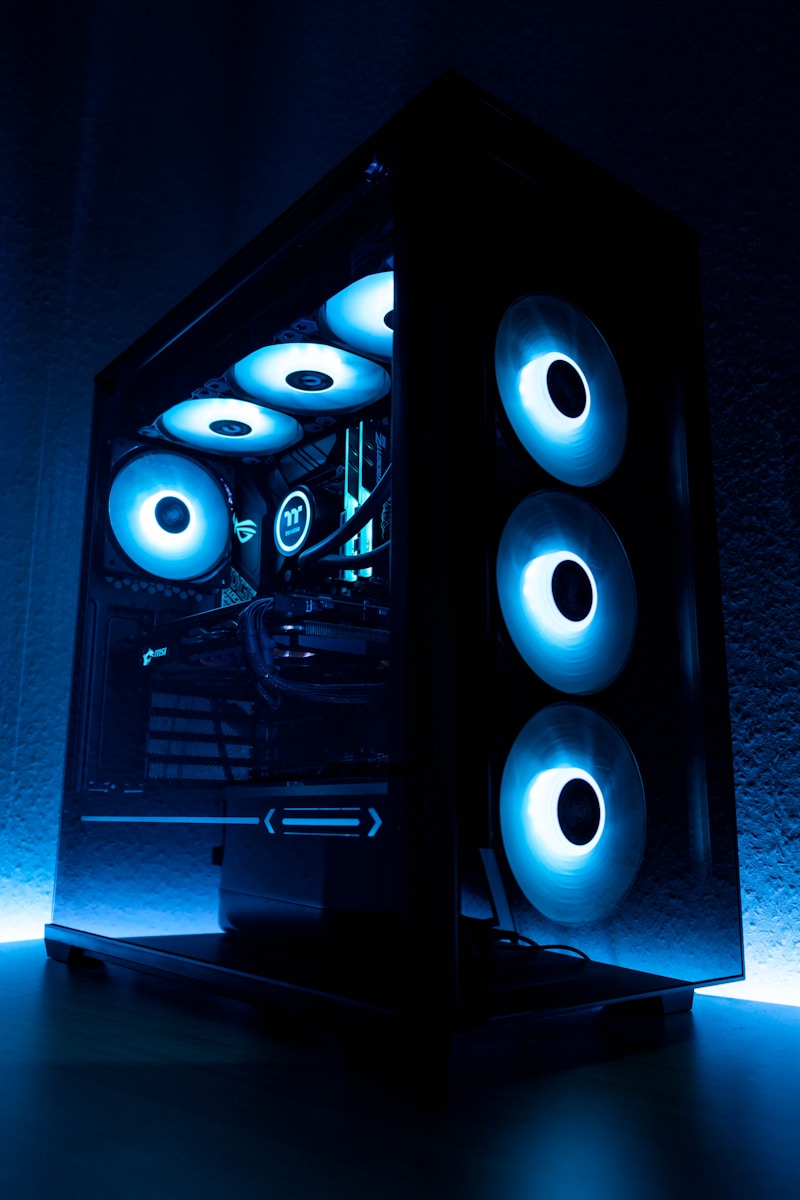
Complete guide to building a gaming PC in 2025 - three budgets, step-by-step assembly, BIOS setup and critical tips. Everything you need to know!
How to Build the Perfect Gaming PC in 2025 🖥️
Introduction - Why Build Your Own?
Building your own gaming PC saves 20-40% compared to pre-built systems, and teaches you exactly what's inside your machine. In 2025, the market offers amazing options at every budget level.
💰 Three Budgets - Three Performance Levels
Budget Build ($800-1,300) - 1080p 60+ FPS:
- CPU: AMD Ryzen 5 5600 or Intel i5-12400F
- GPU: NVIDIA RTX 4060 or AMD RX 7600
- RAM: 16GB DDR4 3200MHz (2x8GB)
- Storage: 500GB NVMe SSD + 1TB HDD
- Motherboard: B550 (AMD) or B660 (Intel)
- PSU: 550W 80+ Bronze
Mid-Range ($1,300-2,200) - 1440p 100+ FPS:
- CPU: AMD Ryzen 7 7700X or Intel i7-13700KF
- GPU: NVIDIA RTX 4070 Super or AMD RX 7800 XT
- RAM: 32GB DDR5 5600MHz (2x16GB)
- Storage: 1TB NVMe Gen4 SSD
- Motherboard: B650 (AMD) or Z690 (Intel)
- PSU: 650W 80+ Gold
Premium ($2,200-4,000) - 4K 60+ FPS / 1440p 144+ FPS:
- CPU: AMD Ryzen 9 9900X or Intel i9-14900K
- GPU: NVIDIA RTX 4080 Super or RTX 4090
- RAM: 32GB DDR5 6000MHz (2x16GB)
- Storage: 2TB NVMe Gen4 + 2TB extra
- Motherboard: X670E (AMD) or Z790 (Intel)
- PSU: 850W 80+ Gold
- Cooling: 360mm AIO Liquid Cooler
🔧 Step-by-Step Assembly Guide
Step 1: Preparation (10 min)
- Unbox all components on a clean workspace
- Get a Phillips #2 screwdriver ready
- Touch metal to discharge static electricity before handling components
Step 2: CPU Installation (5 min)
- Open the motherboard socket
- Align the golden triangle with the socket marking
- Place gently - never force it!
- Close the lever
Step 3: RAM Installation (2 min)
- Identify correct slots (usually A2 and B2 for Dual Channel)
- Open the clips
- Press RAM until it clicks
Step 4: M.2 SSD Installation (3 min)
- Find the M.2 slot on the motherboard
- Insert at a 30-degree angle
- Secure with the M.2 screw
Step 5: Case Installation (15 min)
- Install IO Shield from inside
- Screw motherboard onto standoffs
- Connect Front Panel cables
Step 6: GPU Installation (5 min)
- Remove rear slot covers
- Insert into PCIe x16 slot until click
- Connect power cables (6+2 pin)
Step 7: Cable Management & Finish (10 min)
- Connect 24-pin ATX to motherboard
- Connect CPU 4+4/8 pin cable
- Connect fans
- Route cables behind the case
⚡ Initial BIOS Setup
- Enable XMP/EXPO for RAM
- Verify all components detected
- Set Boot order - SSD first
- Update BIOS to latest version
🛡️ Critical Tips
- Never cheap out on PSU - a bad PSU can fry your entire system
- Cooling is critical - ensure good airflow with at least 3 fans
- Plan for the future - buy a motherboard with upgrade paths
- Windows 11 - install genuine and update all drivers
- Monitor temps - use HWMonitor or MSI Afterburner
More from the blog
- The Pre-Order Button: Your Ultimate Betrayal (And Why I Stopped Hitting It)
- My Digital Soul: The 7 Games That Forged Niko "NightPixel"
- Game Pass in 2026: Still the King, or Just a Jester in a Crown?
- Couch Co-Op in 2026: The Only List That Matters (Seriously, The Rest Are Trash)
- The Indie Uprising: Why AAA is Dead and Buried in 2026